Last updated November 21, 2026
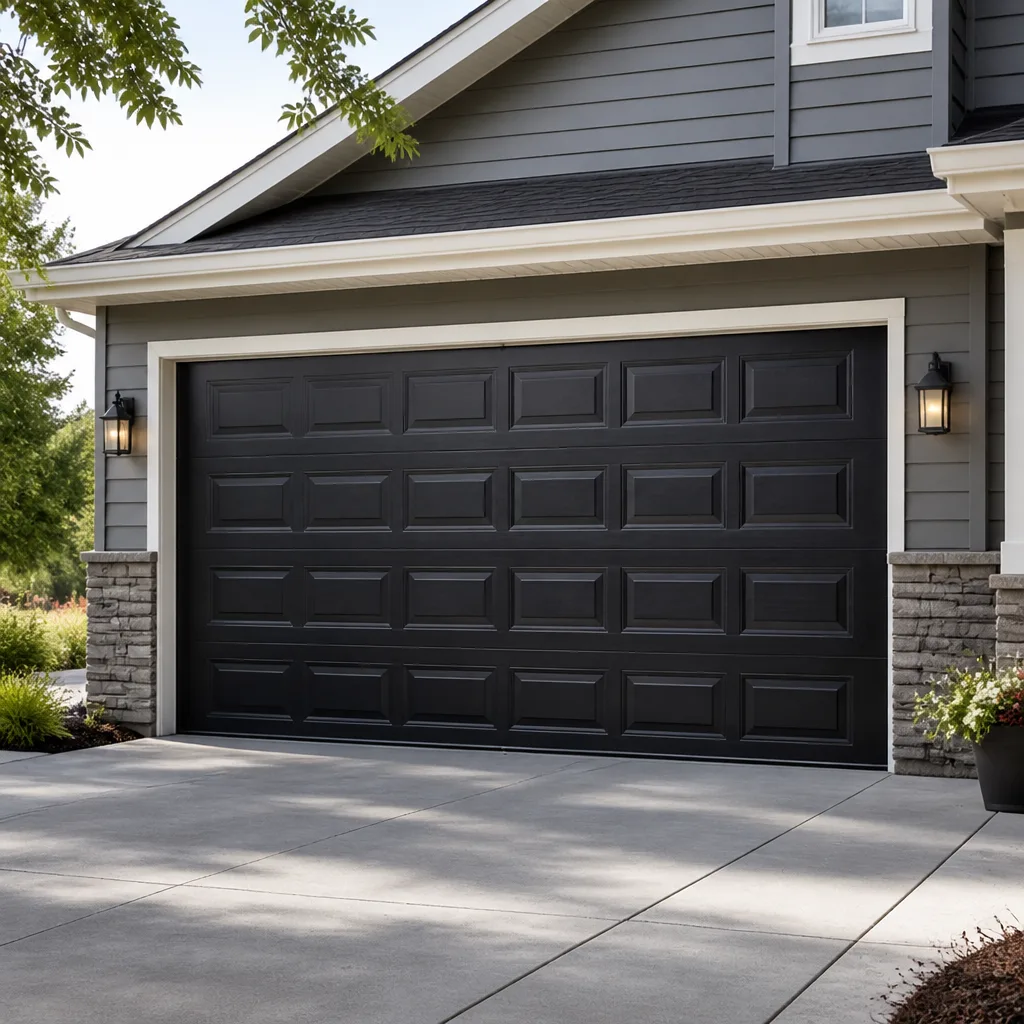 Raised-panel steel
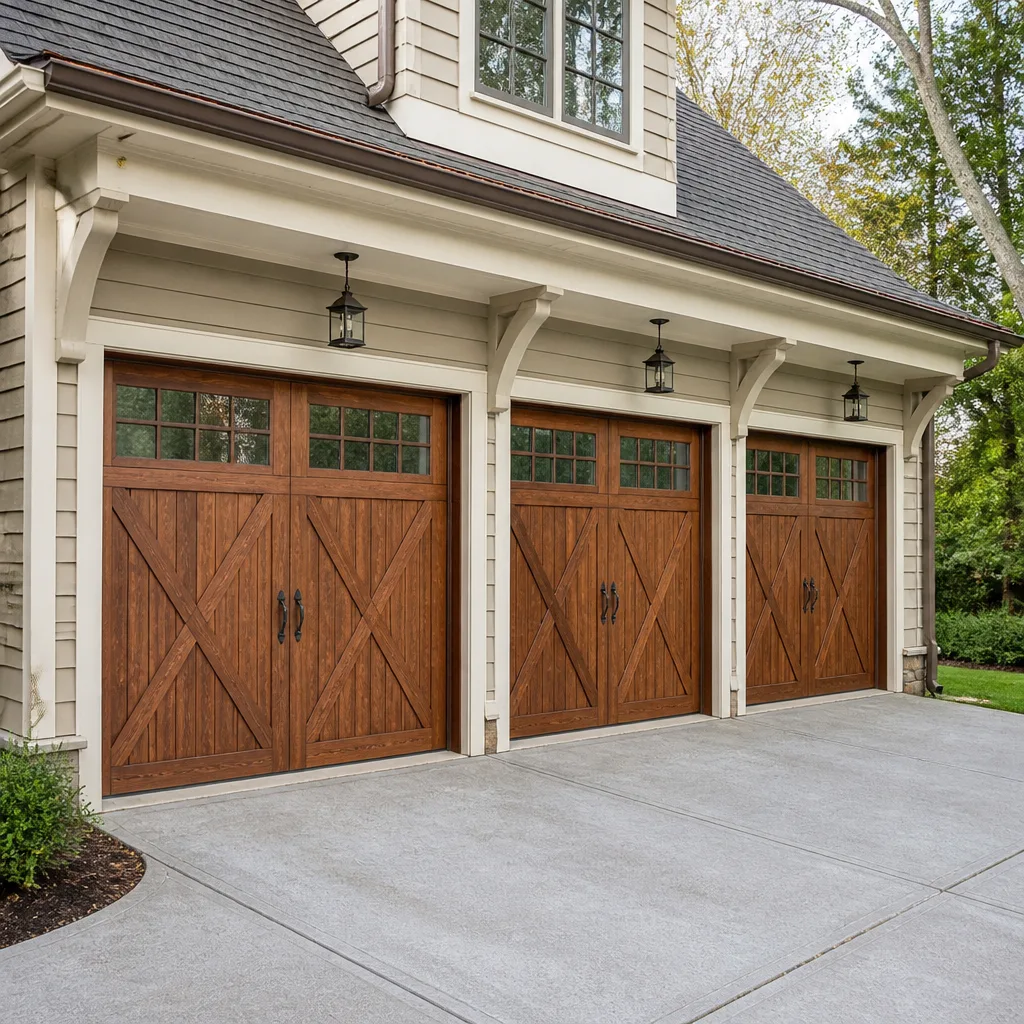 Carriage house
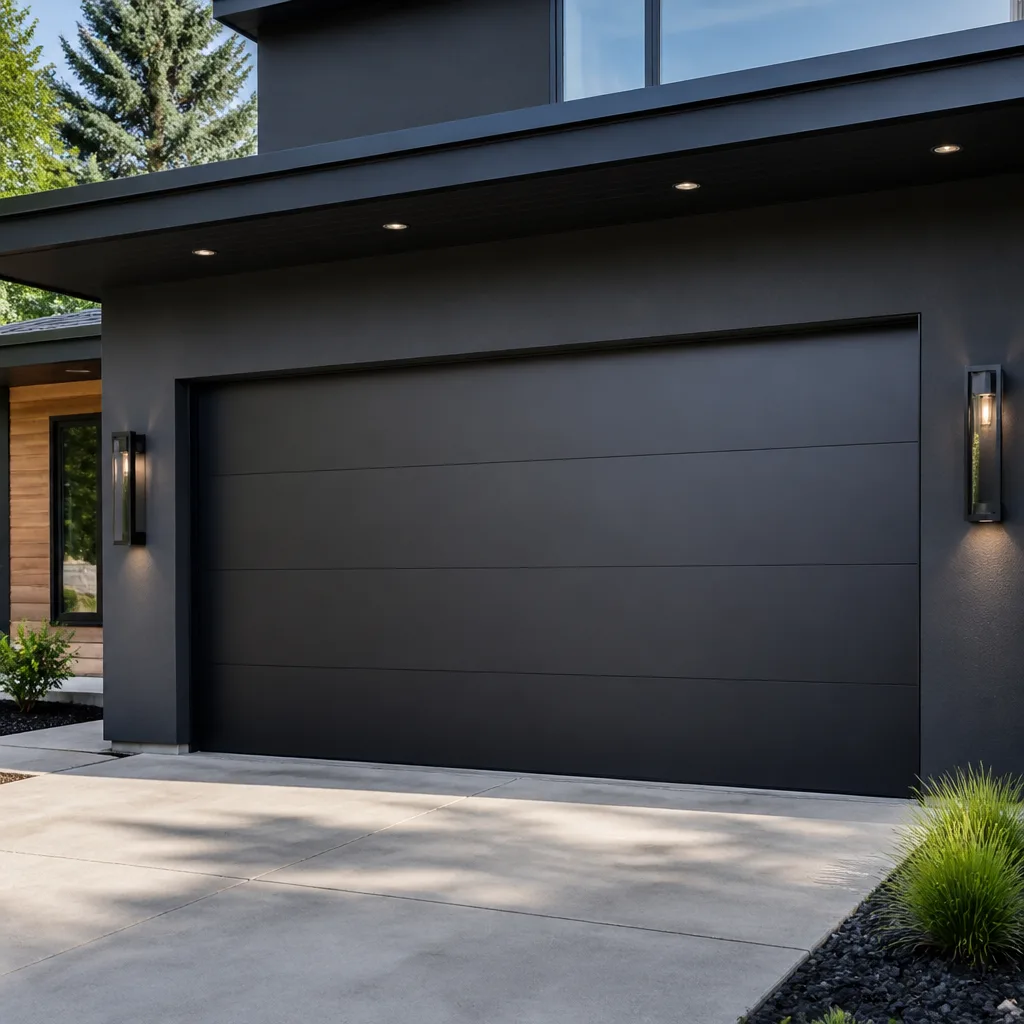 Modern flush
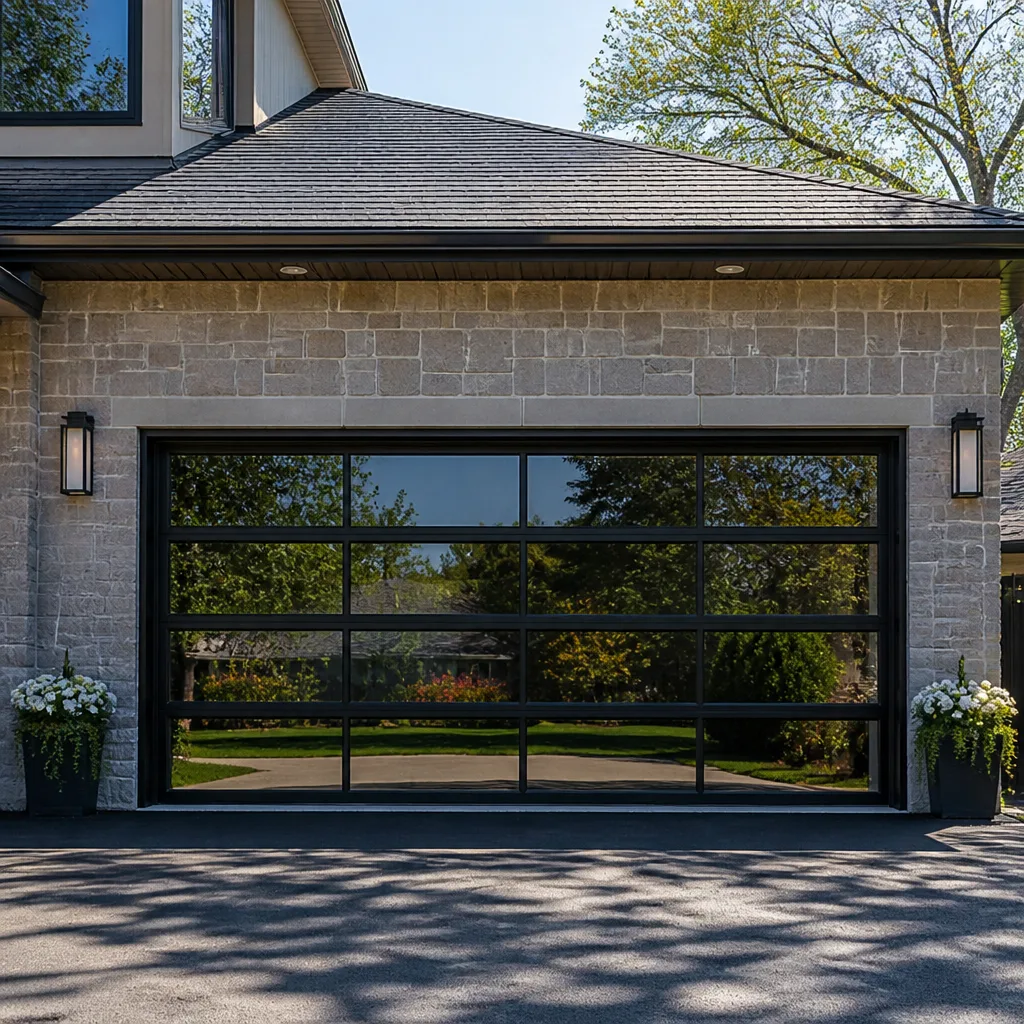 Full-view glass
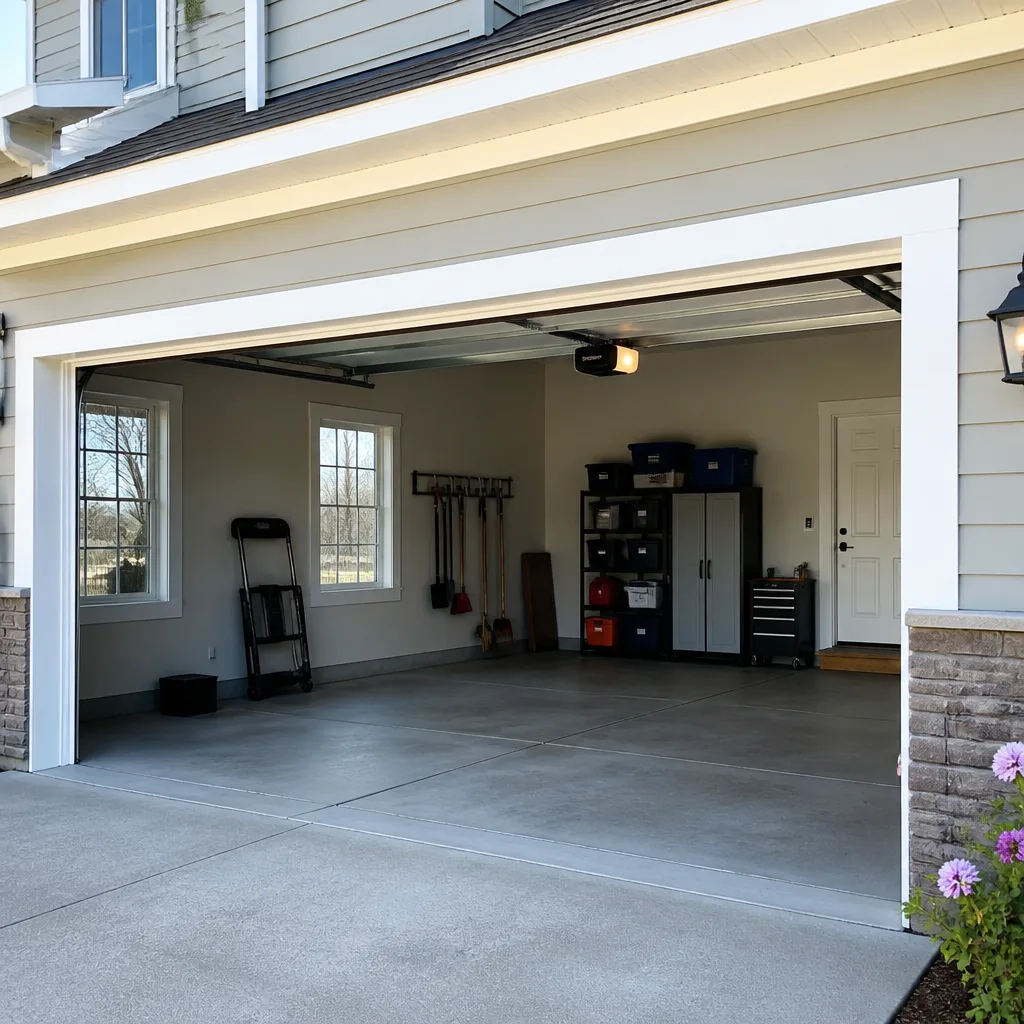 LiftMaster openers
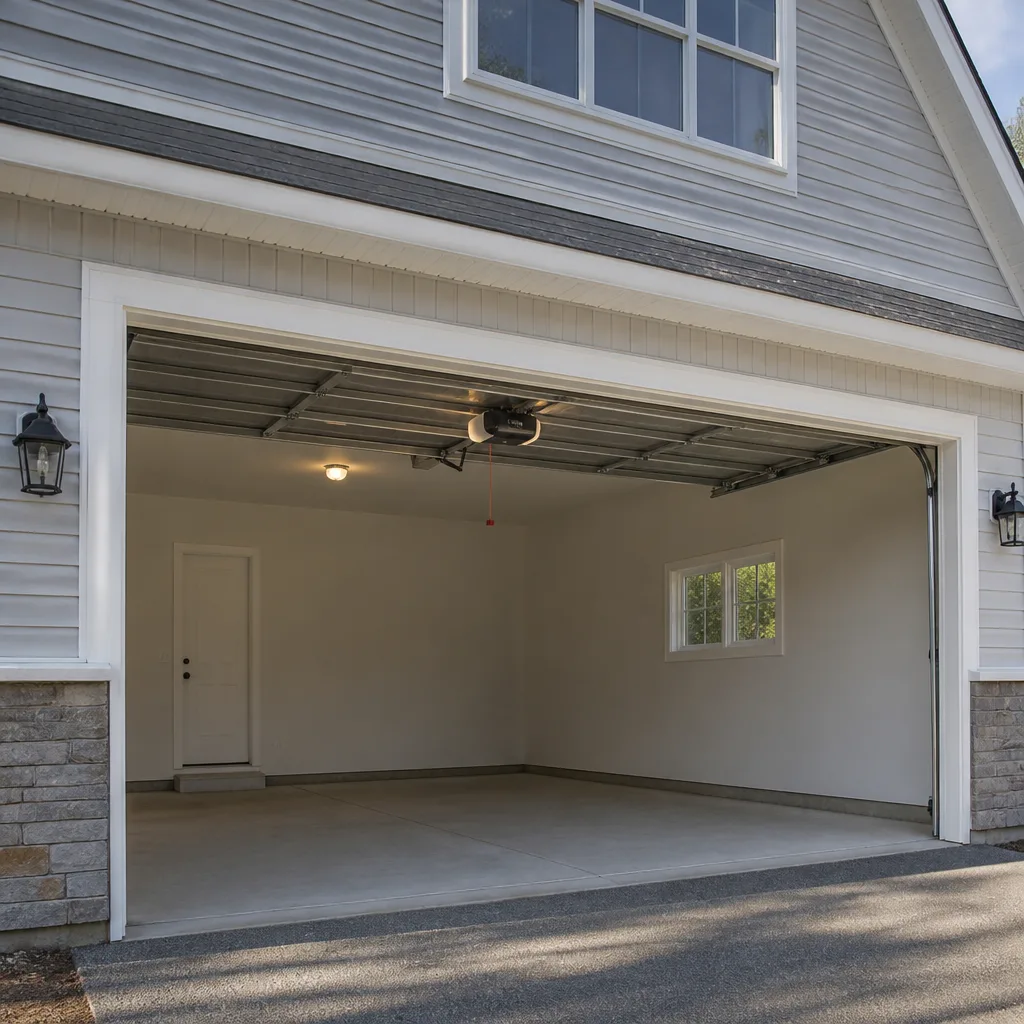 Chamberlain openers
Full 25-point door and opener safety check with every visit - springs, cables, rollers, tracks, and your LiftMaster or Chamberlain opener included
You get a price before we start. It does not change when the pro arrives.
Get your free estimateGarage Door Repair Maintenance Checklist for Battle Creek Homeowners
Most homeowners who do their own garage door upkeep skip the one task that matters most: lubricating the torsion spring. It’s tucked up on the header, easy to ignore, and quiet until it isn’t. A dry, unlubricated spring coils tighter with every cycle, and the friction eats into the metal. That’s the failure that shows up as a snapped spring on a cold January Monday while you’re trying to get to work. What follows is the same top-to-bottom inspection order our technicians use on every door in Battle Creek, from the spring down to the safety sensors. We’ll cover what to check, what to leave alone, which sprays to avoid, and which findings mean stop and call.
Quick Answer
A garage door maintenance checklist should be worked top to bottom: springs and cables first, then rollers, hinges, and tracks, then the opener and its safety reverse test last. In Battle Creek, plan a full check before the first hard freeze and another after spring thaw, since both seasons change how the door moves. Springs and cables are inspect-only. Lubrication, balance, and sensor tests are the parts you can safely handle.
Styles & brands we work with
- Raised-panel steel
- Carriage house
- Modern flush
- Full-view glass
- LiftMaster openers
- Chamberlain openers
Table of Contents
- Why the Order of a Checklist Matters More Than the List
- Step 1: Springs and Cables at the Top of the Door
- Step 2: Rollers, Hinges, and Tracks
- Step 3: What to Lubricate, and What Never to Spray
- Step 4: The Balance and Auto-Reverse Tests in Under Three Minutes
- Step 5: The Opener, Belt, and Rails
- Battle Creek Seasonal Triggers for a Full Check
- Red Flags That Mean Stop and Call
Why the Order of a Checklist Matters More Than the List
Alphabetized checklists are useless because they ignore how a door actually fails. A torsion spring doesn’t care that its name starts with S. What matters is that springs and cables carry the full weight of the door, so a problem there changes how every part below behaves. If a cable is frayed, the rollers will drag. If a spring is failing, the opener’s effort increases against the rail. Checking the easy parts first means you’re reading symptoms without knowing the cause.
Our technicians work top to bottom for the same reason. The inspection starts at the header where the spring, bearing plates, and cable drums live. Then it moves down the vertical tracks, out to the hinges and rollers, across the panels, and finally to the floor and the opener mounted on the ceiling. Each zone tells you something about the next. A door that looks fine at the bottom but has a sagging hinge near the top has a tension problem you’d miss if you started at the floor.
Battle Creek homes with attached garages and single-slope driveways also throw a wrinkle into the sequence. A door that binds slightly on one side looks normal at first glance but shows up when you test balance, because the door won’t hold at the halfway point without drifting. Working in the technician’s order catches that before it becomes a stripped opener gear or a bent track.
The sequence also matters for safety. The two components most likely to hurt you, the torsion spring and the cables, are both at the top of the door. That’s where a trained person looks carefully and touches carefully. By the time you reach the rollers and hinges, you’ve already cleared the risky zone.
If any part of the top-of-door inspection looks wrong, stop. A door that has failed at the spring or cable level isn’t safe to cycle, and the right next step is a call, not a repair attempt. For the parts below the header, this guide stays useful whether the door is a newer model or an older unit. We work on Wayne Dalton, Craftsman, and Raynor doors along with the rest of the major brands, so the checks translate to whatever hardware is on your house.
Step 1: Springs and Cables at the Top of the Door
This is the inspect-only zone. High-tension springs hold the door’s entire weight, and the cables that run alongside them are under the same load. Neither is a DIY repair, no matter how many videos are online. A torsion spring stores enough energy to cause serious injury in an instant, and a snapped extension spring can throw the cable with real force. Trained technicians use winding bars and understand the load. This is not a job for a ladder and a wrench from the shed.
What you can safely check from the ground:
- Look at the torsion spring (the horizontal coil above the door). Is it visibly split in two? A gap in the middle means it’s broken and the door won’t be safe to use.
- Check the extension springs (the long springs alongside the horizontal tracks in some designs) for stretched coils or a gap where the coils have pulled apart.
- Inspect the cables along each side. Frayed strands or a cable hanging loose off a drum means stop.
- Check the bearing plates at each end of the torsion bar for red rust dust. Grinding metal leaves marks that suggest wear.
- Look up at the center bearing on the torsion bar for wobbling or a grinding sheen.
Any one of those findings is a stop-and-call item. A broken torsion spring can usually be replaced without touching the rest of the door, and Spring repair is a core service we handle in-house rather than farming out. That matters because a single failed spring is often a matched pair concern: when one breaks, the other is usually near the end of its life too. A pair costs roughly twice a single spring, which is why an honest estimate quotes it that way instead of hiding a second spring in the labor line.
In Battle Creek, this inspection is worth doing twice a year. A cold snap can turn a marginal spring brittle, and a spring that survived summer heat without complaint can fail the first morning the temperature drops into the teens. Checking the coils in late fall gives you a chance to schedule replacement on your terms instead of an emergency call to fix Garage Door Repair Battle Creek on the first freezing morning.
Step 2: Rollers, Hinges, and Tracks
Now you reach the parts a homeowner can actually maintain. Start at the top hinges and work down. There are typically hinges at each panel joint on both sides, plus a bottom bracket at the floor. The rollers ride inside the hinges. What you’re looking for is wobble, crack, and buildup.
- Test the hinges by hand. With the door closed, wiggle each hinge plate. A hinge that moves too freely, or that has a cracked plate, is worn out and should be replaced before it fails.
- Inspect every roller. Nylon rollers should look smooth and round. Steel rollers should spin freely without a grinding noise. A flat-spotted nylon roller, or one that screeches on its shaft, means it’s time to replace that roller, not just lubricate it.
- Run a cloth along the inside of each vertical track. Dirt, sawdust, or a thin film of grime slows the rollers. Clean tracks, not oiled tracks, are the goal. Don’t put oil in the track channel; it traps grit.
- Check the tracks for bends and separation. The horizontal track sections should stay parallel to the door face when the door is closed. A track bent away from the door at a hinge point means the roller has been jumping out.
- Look at the bottom bracket and the floor seal. With the door fully down, the bottom weatherstrip should press evenly across the floor. A wobbling bottom bracket with a slack cable is a stop-and-call item.
Tracks that bind or bow need straightening, not force. Pushing a bent track back by hand can shear a roller or bend the door panel. When a hinge is loose or a track has a hard kink, that’s the point where the inspection stops being a maintenance task and becomes a repair. That’s the kind of thing we handle under garage door repair, and it’s a good cue to have a technician look before the binding gets worse.
Step 3: What to Lubricate, and What Never to Spray
Lubrication is where good intentions go wrong. The wrong spray doesn’t just fail to help; it can actively damage the parts you’re trying to protect. Two rules cover most of it: use a garage-door-specific lithium or silicone lubricant, and never use a general-purpose household oil on nylon rollers or the rubber door seals.
Here’s the breakdown by component:
- Torsion spring: a light mist of garage-door lubricant along the coil, top to bottom, once a year. This is the skipped item that brings down a door in January. Don’t soak it; a thin coat is enough. Never get lubricant on the wound cable.
- Hinges and roller shafts: one small drop of lubricant on each hinge pivot and each roller shaft. Wipe off excess.
- Bearings and the torsion bar: a few drops at each bearing plate.
- Track channels: wipe clean with a dry cloth and leave dry. Do not lubricate the inside of the track.
- Rubber bottom seal and any weatherstripping: a light coat of silicone spray keeps the rubber from cracking. Never use petroleum-based oil, which eats rubber over time.
- Opener chain or screw drive: follow the opener manufacturer’s recommendation. Most belt- and chain-drive units from LiftMaster or Chamberlain call for a specific lubricant, and using the wrong one attracts grit.
What to avoid: WD-40 (the classic spray) is a water displacer, not a long-term lubricant, and repeated use on nylon rollers leaves a sticky film that traps dust and accelerates wear. Cooking spray, motor oil, and grease all attract grit on the tracks and rubber seals. Silicone spray and a dedicated garage-door lubricant are the safe choices. A small can goes a long way and lasts through multiple Battle Creek winters.
Two cautions. First, never lubricate a frayed cable or a cracked spring to try to prolong it. If a component is already failing, lubrication won’t save it, and slipping a cable is dangerous. Second, apply lubricant with the door fully closed and the opener disconnected from the rail so the door won’t move under your hand. A door that runs up while you’re under it isn’t a maintenance task; it’s an accident waiting to happen.
Step 4: The Balance and Auto-Reverse Tests in Under Three Minutes
These two tests are the fastest way to know whether the door is healthy. They’re also the part most homeowners never do. Together they take less than three minutes, and the results tell you a lot about the spring, the opener, and the safety system.
The balance test:
- Disconnect the opener from the door with the release cord so the door is on its own.
- Lift the door by hand to roughly waist height and stop.
- Let go. A properly balanced door stays roughly where you left it, drifting less than a few inches. If it slams down or falls fast, the springs are weak. If it drifts up, the springs are too strong or a cable is binding.
- Lower the door slowly and reconnect the opener.
The number that matters: a balanced door should hold within a few inches of where you stopped it. A door that won’t hold means the spring system needs attention, and a technician should look before the opener burns itself out fighting the weight.
The auto-reverse test:
- Place a 2×4 flat on the floor in the center of the door’s path.
- Close the door with the opener. It should reverse within about an inch of contact with the wood.
- If it keeps closing into the wood, stop and adjust the travel limits per the opener manual, or call.
- Test the photo-eye sensors by passing a hand in front of them while the door is closing. It should reverse immediately.
Photo-eye sensors on most LiftMaster and Chamberlain openers have a small LED that glows steady when aligned and flashes when blocked or misaligned. A flashing sensor or a door that reverses for no reason on its own is often a misaligned eye or a sun glare problem, not a mechanical failure. Cleaning the lenses and nudging the brackets usually solves it. If it recurs, the wiring or the opener board may be involved, which is where garage door opener repair starts.
Step 5: The Opener, Belt, and Rails
The opener is last because it’s downstream of everything else. If the door is balanced and the tracks are clean, the opener only has to move a smooth mechanical system. If any of that is off, the opener is doing the work of the springs, which is where burned-out motors and stripped gears come from. That’s why an opener diagnosis here always starts with the door, not the motor.
With the door closed, inspect:
- The drive belt or chain. A belt should have a slight give, roughly a half inch of slack, depending on the model. A chain should run straight along its rail without a visible sag. A belt that walks off its rail or a chain that slaps the rail on every cycle needs adjustment.
- The rail and trolley. Listen for rattling or grinding as the door opens. A trolley that grinds along the rail or a rail that’s visibly bent should be checked before the noise gets worse.
- The opener light and wall button. Confirm the wall button both opens and closes the door. A button that opens but won’t close can mean a reversed sensor or a wiring issue.
- The main gear inside the opener head. If the opener runs but the door doesn’t move, or the head makes a grinding sound and the door stays put, the main drive gear or the trolley has failed. This is common on older units.
- The manual release. Test the emergency release cord with the door closed. It should pull with light resistance and free the door from the opener.
Multi-brand opener experience matters here. A Genie opener’s belt tension setup is different from a LiftMaster’s, and a Raynor door with an older operator may have different limits. When you call, tell us the brand and model number on the label inside the opener head. We service the major brands, so there’s no need to buy a whole new system just because your opener is one we don’t stock.
Battle Creek Seasonal Triggers for a Full Check
Battle Creek sits in a climate with real winters and real freeze-thaw cycles, and the door feels both. The two calendar points that matter most are the first hard freeze and the spring thaw. Each season does something different to the door.
Before the first hard freeze (late fall):
- Lubricate the torsion spring and hinges. Cold makes metal more brittle and friction more punishing; a dry spring is the first to snap when the temperature drops.
- Check the bottom rubber seal. A hardened or cracked seal lets in cold air and drafts, and a cable that has shrunk can lift one side of the door off the floor at night.
- Test balance and the auto-reverse. A marginal spring that survives summer warmth is more likely to fail on the first deep freeze.
- Check the opener’s belt or chain tension. Cold tightens belts.
After the spring thaw (early spring):
- Inspect for rust and water intrusion at the bottom of the door, where the seal has been sitting in melting snow and ice.
- Check the tracks for movement or separation. Ground frost can heave a slab and shift the vertical track brackets slightly.
- Re-lubricate the rollers and hinges. Winter grit and road salt from Battle Creek streets get pulled in on the tracks and should be wiped out.
- Look for any bent panels from a small collision or a car bumper, which often happens in winter when ice builds up.
Between these two points, a quick monthly visual walk-around of the tracks, springs, and rollers catches small problems before they become a service call. A garage door that runs smoothly in fall is often the one that gives you a heads-up six weeks before a failure, if you’re watching for the noise or the wobble.
Red Flags That Mean Stop and Call
Not everything on a checklist is a maintenance item. Some findings are the door telling you not to use it until a trained technician has looked. If you see any of these, stop and call rather than pushing through.
- A visibly broken torsion spring. The door won’t be safe to raise by hand or with the opener. Stay out from under it.
- A frayed, slack, or hanging cable. Cable failures can whip under load; don’t touch it and don’t run the door.
- A door that’s off its tracks or leaning visibly. This is a falling-weight hazard, not a repair to attempt.
- A door that slams down hard on the floor or on the balance test. A weak spring system will destroy the opener and could crush something under the door.
- An opener that runs but the door doesn’t move. This usually means a stripped gear or a failed trolley, and continuing to press the button can make the damage worse.
- An auto-reverse test that fails to reverse. This is a safety issue, not a minor adjustment. Get it looked at before the door is used again.
- A hinge plate or bottom bracket that’s cracked or missing a fastener. A bracket that shears can separate the door from its hardware mid-cycle.
None of these are items to “keep an eye on.” They’re all reasons to stop the cycle and get a phone call in.
Common Mistakes to Avoid
- Spraying the track with oil. It feels right, but oil on a track collects grit that grinds the rollers down. Clean the track dry; lubricate the rollers instead.
- Using WD-40 as a long-term lubricant. It displaces water but doesn’t stay put, and repeated use leaves a sticky residue on nylon rollers and the rubber seals. A garage-door-specific silicone is the better choice.
- Skipping the torsion spring for a year. This is the most common missed item, and it’s the one most likely to send you to the phone on a January morning in Battle Creek. A thin coat once a year prevents that extra wear.
- Trying to adjust a spring or cable yourself. High-tension springs and cables are genuinely dangerous. This is the one area where the right move is always to call.
- Forcing a stuck door through the opener. If the door won’t move, holding the wall button doesn’t help. It overloads the opener and can strip gears that would’ve been fine otherwise.
- Ignoring a rattling rail or a grinding trolley. These are usually early warnings that something in the opener is wearing out, and a small adjustment now is cheaper than replacing the unit later.
- Forgetting the seasonal check after the thaw. Battle Creek winters leave grit, salt, and moisture in the tracks and under the seal. A spring cleaning pass on the door catches rust and alignment problems before they spread.
See the difference
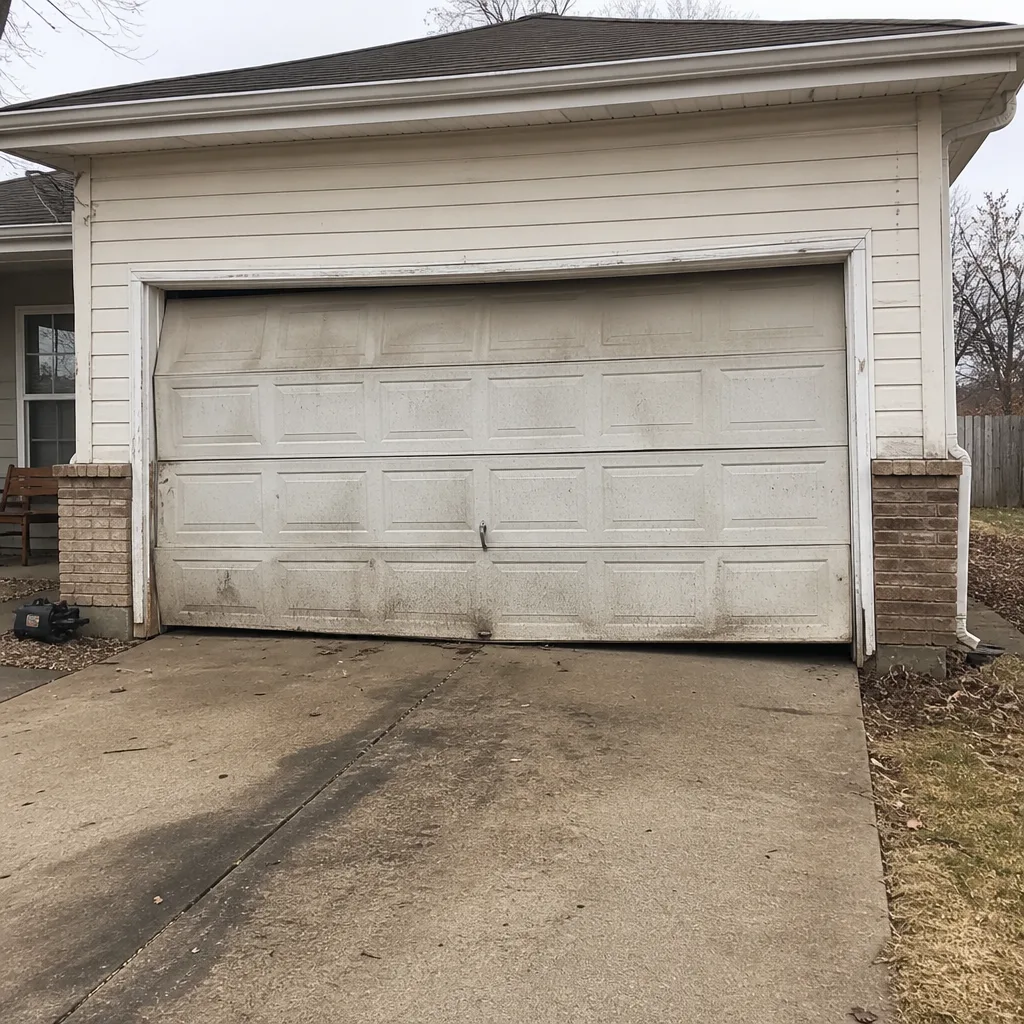 Before
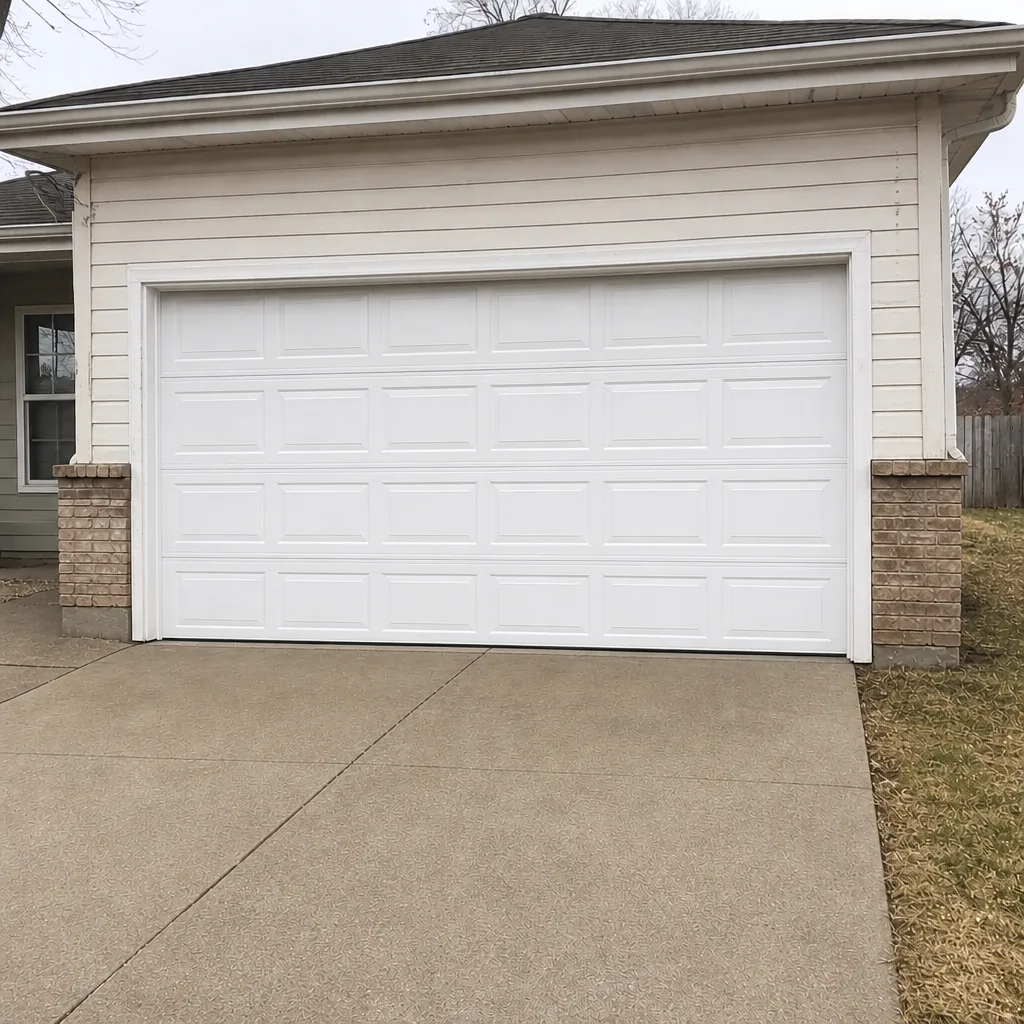 After
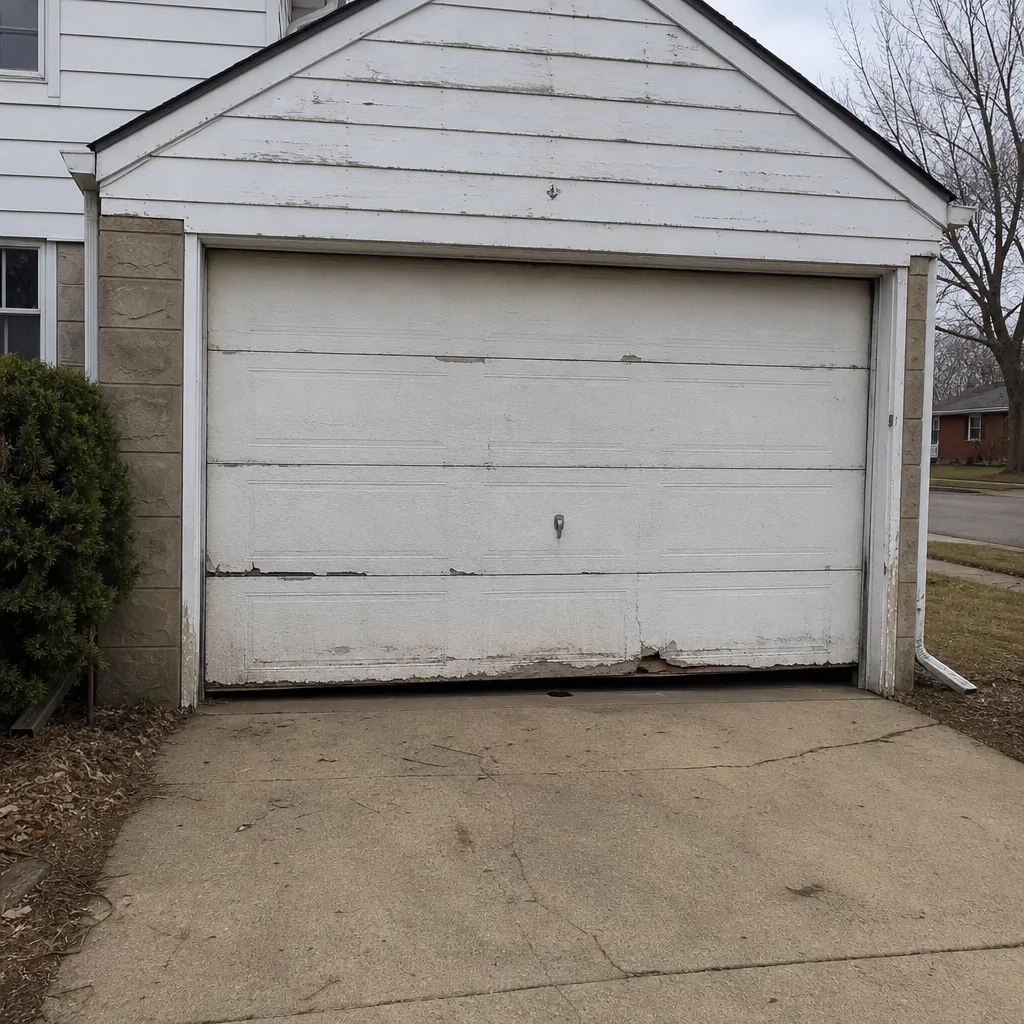 Before
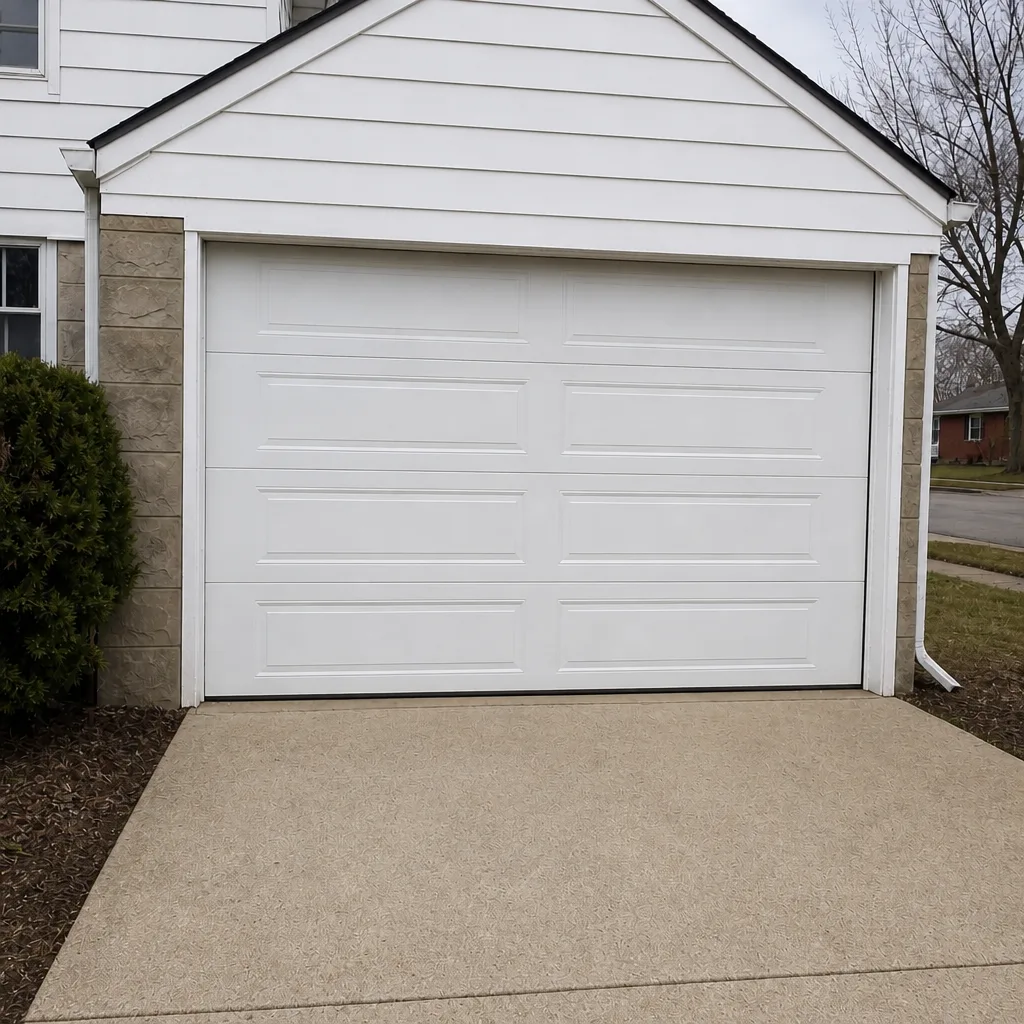 After
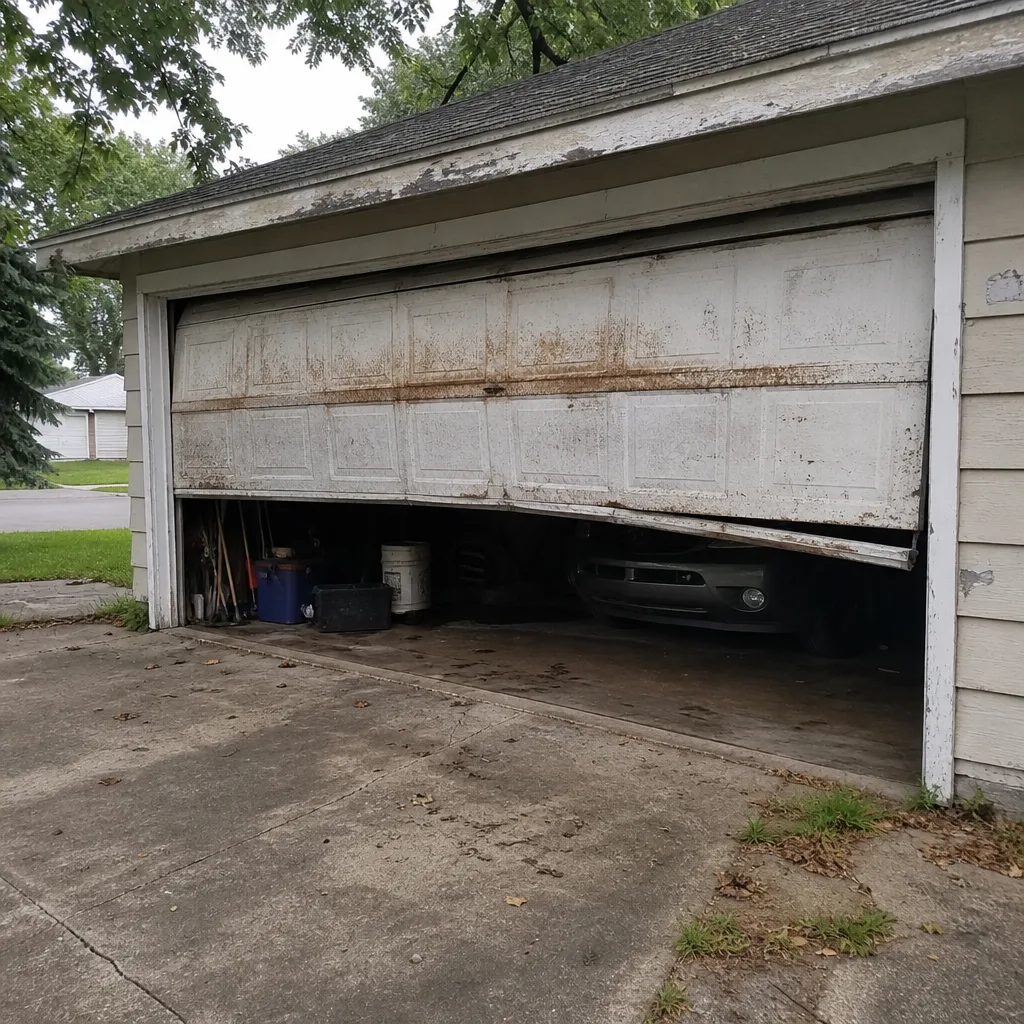 Before
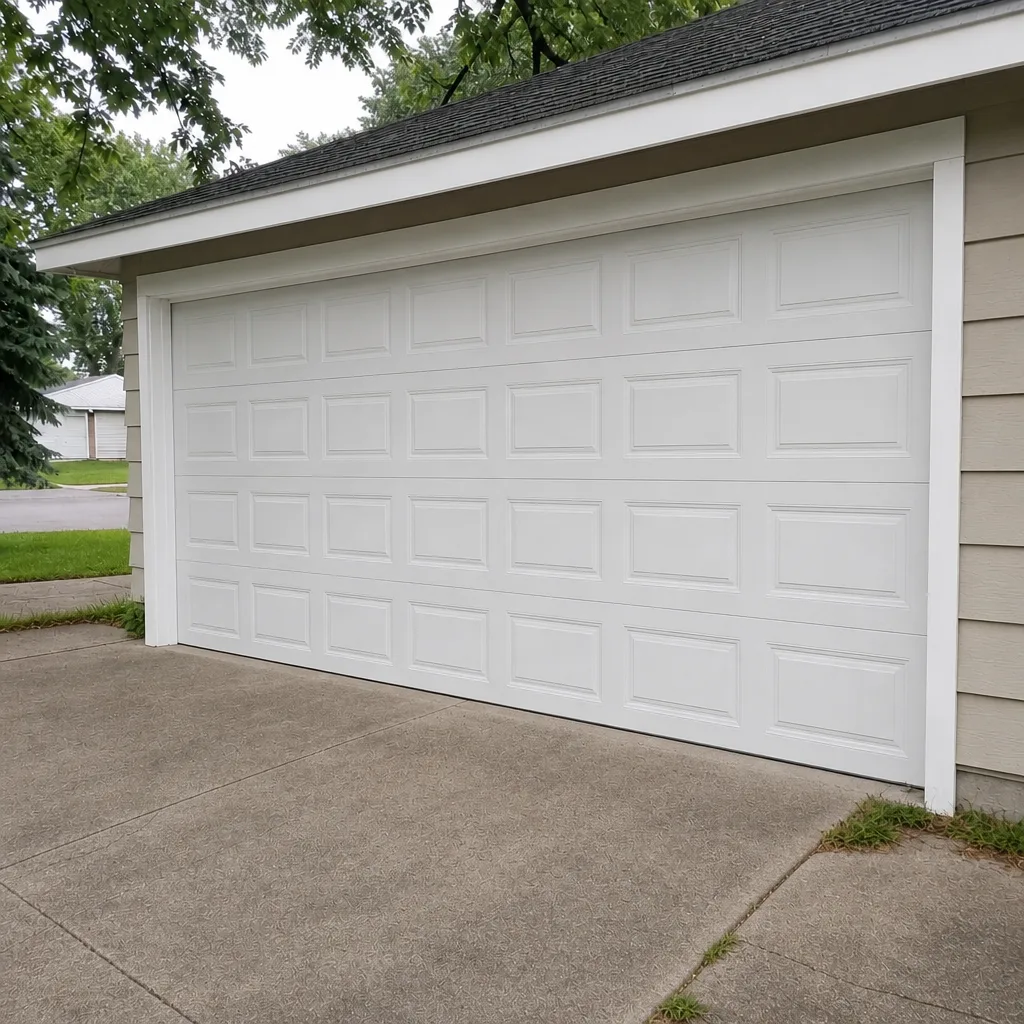 After
When to Call a Professional
Call a professional when the checklist turns up a red-flag finding, when a spring or cable is visibly compromised, when the door is off its tracks, when the opener runs but the door doesn’t move, or when the auto-reverse test fails. Those are the things that shouldn’t wait, and a trained technician has to do the work. A routine maintenance visit is also a good idea once a year if you’d rather not handle the lubricating and testing yourself, especially if you have a two-car door under a heavier spring set. Our technicians have up to 9 years of experience and work on the major brands, so a maintenance visit becomes a chance to catch wear before it becomes a repair.
Garage Door Repair Battle Creek offers free estimates in Battle Creek – call (844) 964-0574. If you’re considering a full replacement rather than a repair, that falls under garage door installation and starts with a measure and a written price. All work is quoted and agreed before any technician starts.
Frequently Asked Questions
Once a year for the torsion spring and hinges is enough for most Battle Creek homes, and twice a year for any door that gets heavy daily use. The best times are late fall before the first hard freeze and early spring after the thaw. Don’t overdo it; a light coat is all the spring needs. Call (844) 964-0574 if you’d rather have a technician handle the lubrication and the full checklist in one visit.
The torsion spring lubricant. It’s the one at the top of the door, hard to reach, and easy to forget. A dry spring wears faster and is the most likely component to fail on a cold morning. A light spray once a year is cheap insurance. If you’ve never done it, that’s the one task worth scheduling with a technician who can check the whole system at the same time.
No. Garage door springs are under high tension and can cause serious injury if handled without training and proper tools. Even a seemingly simple replacement can go wrong quickly. The right move is to call a technician who handles spring repair as a routine job. We handle spring repair in-house and carry the winding bars and safety tools the work requires.
Typical spring replacement in the Battle Creek area runs in the range of a few hundred dollars for a single spring, with a matched pair costing roughly twice the single-spring price. The written estimate is the price, and we quote and agree before any work starts. Costs vary with the door size and the type of spring. Call (844) 964-0574 for an exact quote – estimates are free.
No. The written estimate is the price you pay, and any change would only happen if you and the technician agree to it before the work starts. We quote the job by estimate, walk you through what’s included, and confirm everything before any technician picks up a tool. That’s the way it should work. Call (844) 964-0574 to set up a free estimate.
A door that reverses on its own usually has a photo-eye sensor issue or a travel-limit setting that’s drifted. Clean the sensor lenses, check the alignment, and test again. If it recurs, the wiring or the opener board may be the cause, and an opener repair is the next step. Battles Creek winters can also misalign sensors through frost heave under the door, which is worth checking each spring. Call (844) 964-0574 if the problem keeps coming back.
The Bottom Line
A garage door maintenance checklist works when you use it in the right order: springs and cables first, then rollers and hinges, then lubrication, then the balance and reverse tests, and the opener last. The two things that most often get skipped and most often save a service call are a yearly spray of the torsion spring and a seasonal check before the first hard freeze and after the thaw. Battle Creek winters do a lot of the damage on their own, so the calendar matters as much as the tasks. Anything that looks off at the spring or cable level is a stop-and-call finding, not a repair attempt. For everything else, a quick pass twice a year keeps the door running quietly and the opener out of trouble.
If you have questions about your door, need a free estimate, or want an experienced technician to walk through the checklist with you, call (844) 964-0574. We work on the major brands including LiftMaster, Chamberlain, Genie, Clopay, Amarr, Wayne Dalton, Craftsman, and Raynor, and we handle everything from spring repair to new installations. One call covers it.
Written by the team at Garage Door Repair Battle Creek.